Last updated on October 26, 2026
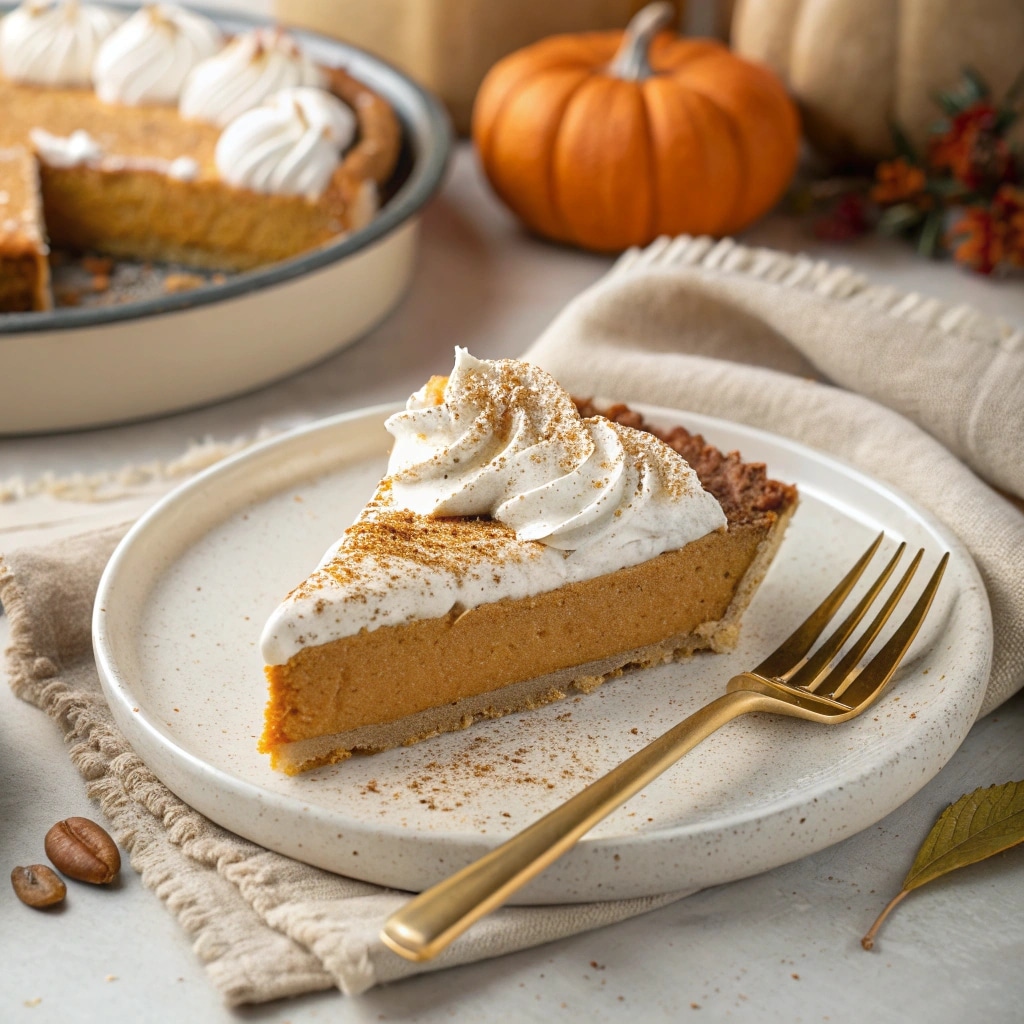
This no bake marshmallow pumpkin pie has a fluffy pumpkin filling, warm cinnamon, and a graham cracker crust. Melt the marshmallows with pumpkin and spices, let the mixture cool, then fold in thawed whipped topping. The refrigerator finishes the job while your oven stays free.
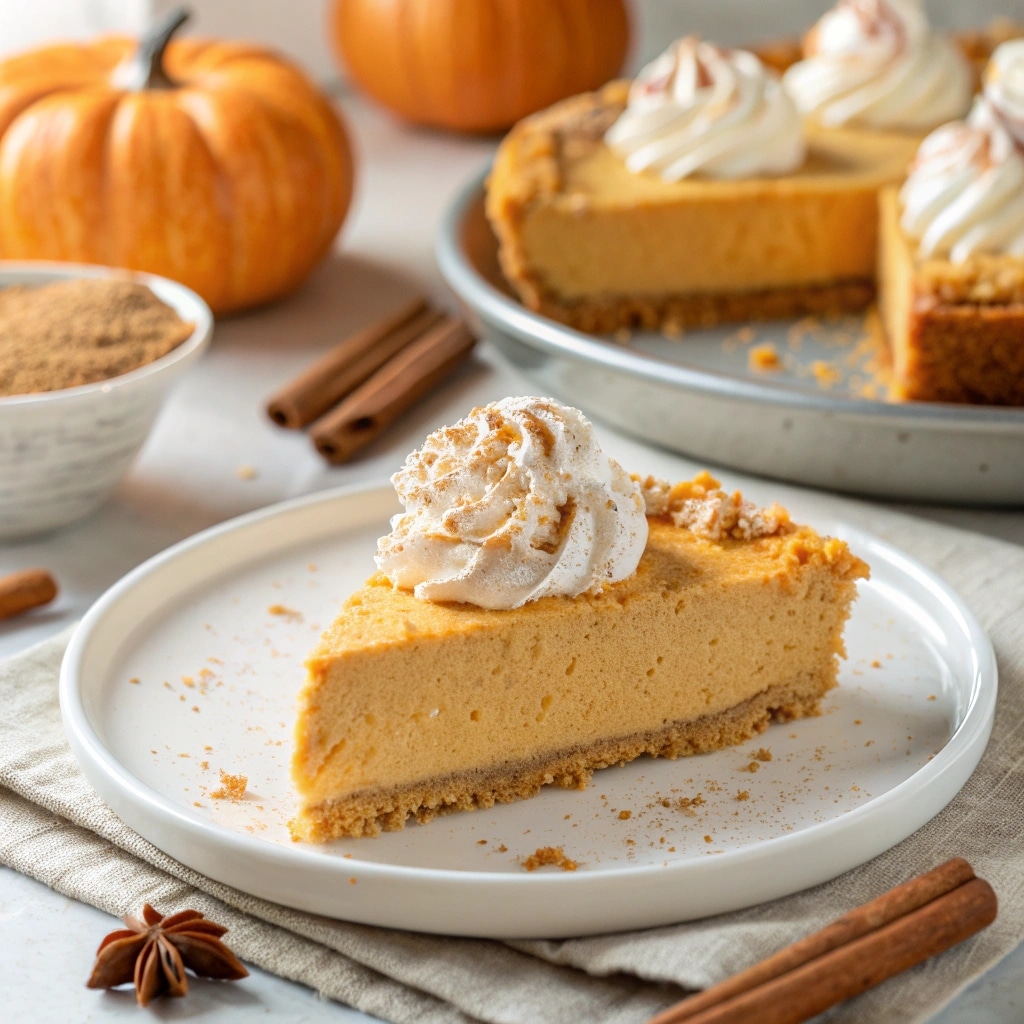
Plan on about 15 minutes of active preparation, 30 minutes of cooling, and at least 8 hours of chilling. Make it the day before you need it, especially if you’re serving it alongside other no bake Thanksgiving desserts.
Table of Contents
Why You’ll Love This Marshmallow Pumpkin Pie
A Fluffy Filling with Warm Spice
Pumpkin, cinnamon, and marshmallows make a sweet filling that becomes lighter when folded with whipped topping.
A Prepared Crust Keeps It Simple
A graham cracker crust gives the creamy filling a crumbly base without rolling pastry or turning on the oven.
Dessert Is Ready Ahead of Dinner
Make the pie the day before your gathering, then leave only the garnishing and slicing for serving time.
No Bake Marshmallow Pumpkin Pie
- Total Time: 8 hours 45 minutes
- Yield: 8 slices 1x
- Diet: Vegetarian
Description
A fluffy pumpkin pie made with melted marshmallows, pumpkin purée, warm spices, and whipped topping in a prepared graham cracker crust. Prepare it ahead and refrigerate overnight before slicing.
Ingredients
For the filling
- 10 ounces (283 g) large marshmallows
- 1 cup plain pumpkin purée, not pumpkin pie filling
- 1 teaspoon ground cinnamon
- ½ teaspoon pumpkin pie spice
- ½ teaspoon salt
- 8 ounces (227 g) Cool Whip, thawed according to package directions and kept cold
For the crust
- 1 prepared graham cracker crust, 6-ounce size
Optional garnishes
- Whipped cream or additional whipped topping
- Ground cinnamon
- Graham cracker crumbs
Instructions
- Melt the Pumpkin and Marshmallows.
Add the marshmallows, pumpkin purée, cinnamon, pumpkin pie spice, and salt to a saucepan. Warm over low to medium-low heat, stirring continuously, until the marshmallows have melted and the mixture is smooth. Remove from the heat. - Cool the Filling Base.
Transfer to a mixing bowl. Let cool to room temperature, about 30 minutes or longer if necessary, stirring occasionally. The mixture should no longer feel warm before proceeding. - Fold in the Whipped Topping.
Gently fold the thawed Cool Whip into the cooled pumpkin mixture with a spatula until the color is even and no large white streaks remain. - Fill the Crust.
Spoon the filling into the prepared graham cracker crust and smooth the top. Cover without touching the surface of the filling. - Chill Until Set.
Refrigerate for at least 8 hours, preferably overnight. Keep the pie level and refrigerated until ready to serve. - Garnish and Serve.
Add optional whipped cream, cinnamon, or graham cracker crumbs just before serving. Cut into eight slices, wiping the knife between cuts.
Notes
- Use one cup of pumpkin purée, not a whole 15-ounce can.
- Measure marshmallows by weight because package sizes vary. Regular mini marshmallows can be measured to the same weight; marshmallow fluff is not a direct substitute.
- The main recipe uses an 8-ounce tub of thawed Cool Whip. Do not add milk, pudding mix, or cream cheese.
- Make the pie the day before serving. Keep covered in the refrigerator and use within 3–4 days of preparation.
- Conventional marshmallows may contain gelatin. Check ingredient labels before serving to someone with dietary restrictions.
- The estimated total includes active preparation, cooling, and chilling. Allow more time if the filling takes longer to cool.
- Prep Time: 15 minutes
- Chilling and Cooling: 8 hours 30 minutes
- Category: Dessert
- Method: No Bake
- Cuisine: American
Nutrition
- Serving Size: Per Slice
- Calories: 273
- Sugar: 30 g
- Sodium: 296 mg
- Fat: 7 g
- Saturated Fat: 2 g
- Carbohydrates: 52 g
- Fiber: 2 g
- Protein: 3 g
Ingredients for This Pumpkin Marshmallow Recipe
The filling uses marshmallows, plain pumpkin purée, cinnamon, pumpkin pie spice, salt, and thawed Cool Whip. A prepared graham cracker crust keeps the assembly simple. Exact quantities are in the recipe card below.
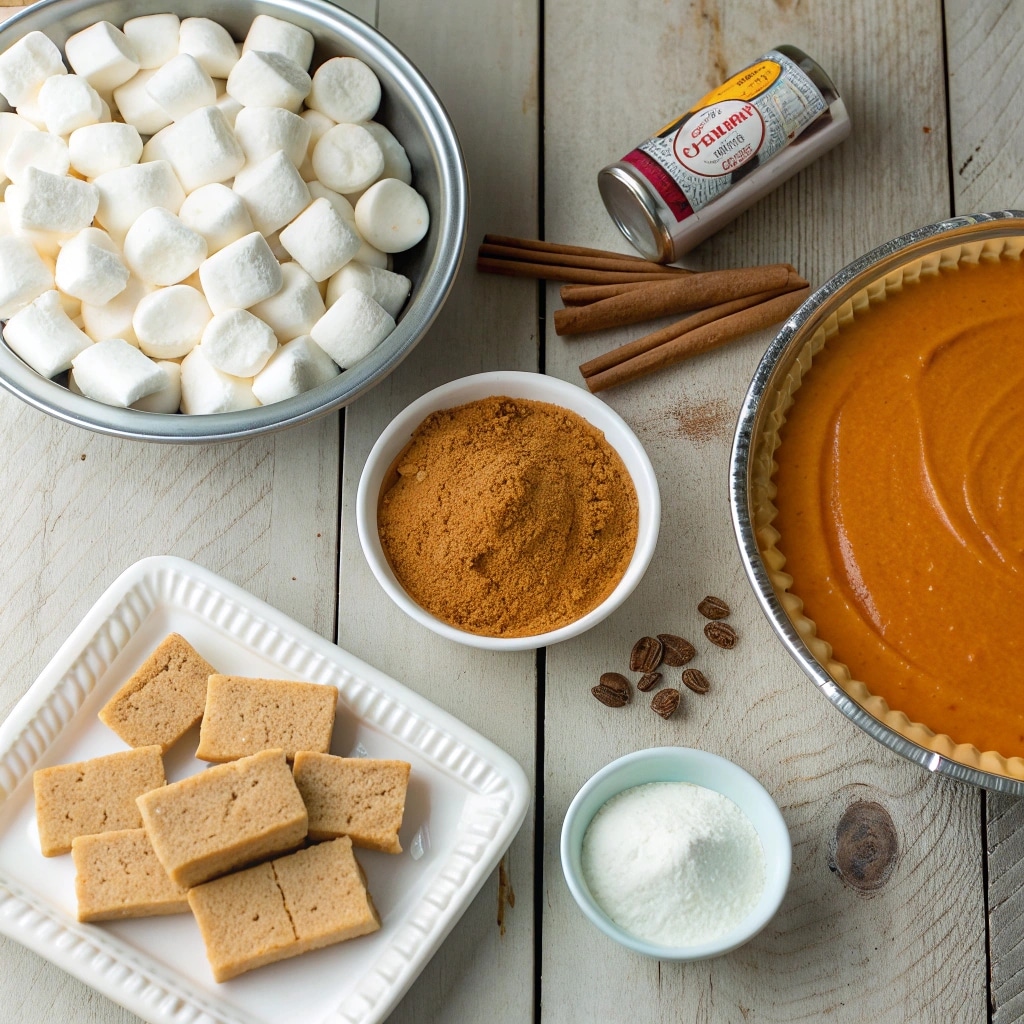
| Ingredient | What it does | What to check before starting |
|---|---|---|
| Large marshmallows | Sweeten the filling and help it set as it chills | Measure 10 ounces by weight; bag sizes vary |
| Plain pumpkin purée | Adds pumpkin flavor, color, and body | Use 1 cup, not an entire 15-ounce can; avoid sweetened pumpkin pie filling |
| Cool Whip | Adds air and lightens the cooled pumpkin mixture | Use an 8-ounce tub, thawed according to its package directions and kept cold |
| Cinnamon and pumpkin pie spice | Season the filling | Both are included in the recipe; pumpkin pie spice is not a substitute for the purée |
| Salt | Balances the sweetness | Measure the specified amount rather than adding it by eye |
| Prepared graham cracker crust | Holds the chilled filling | Use a standard 6-ounce crust; a larger crust will give a shallower pie |
A No Bake Pumpkin Pie Without Cream Cheese
The combination of melted marshmallows and whipped topping gives this pie its soft, mousse-like filling. You don’t need cream cheese, pudding mix, condensed milk, or evaporated milk.
Adding cream cheese would change both the flavor and the filling’s balance. If you want that tangier dessert, choose our no bake pumpkin cheesecake bars instead of adding an unmeasured amount to this pie.
Using Cool Whip in the Filling
For this no bake pumpkin pie with marshmallows, use the full 8-ounce tub of Cool Whip in the filling. Thaw it in the refrigerator according to the package directions. If you want extra topping for decorating, set aside a separate portion rather than taking it from that measured amount.
Wait until the pumpkin mixture reaches room temperature before folding in the topping. Homemade whipped cream has not been tested as a replacement in this recipe, so keep it for garnishing if you prefer it.
How to Make No Bake Marshmallow Pumpkin Pie
1. Melt the Marshmallows with the Pumpkin
Combine the marshmallows, pumpkin purée, cinnamon, pumpkin pie spice, and salt in a saucepan over low to medium-low heat. Stir continuously, scraping the bottom and sides, until the marshmallows have melted and the mixture looks smooth.
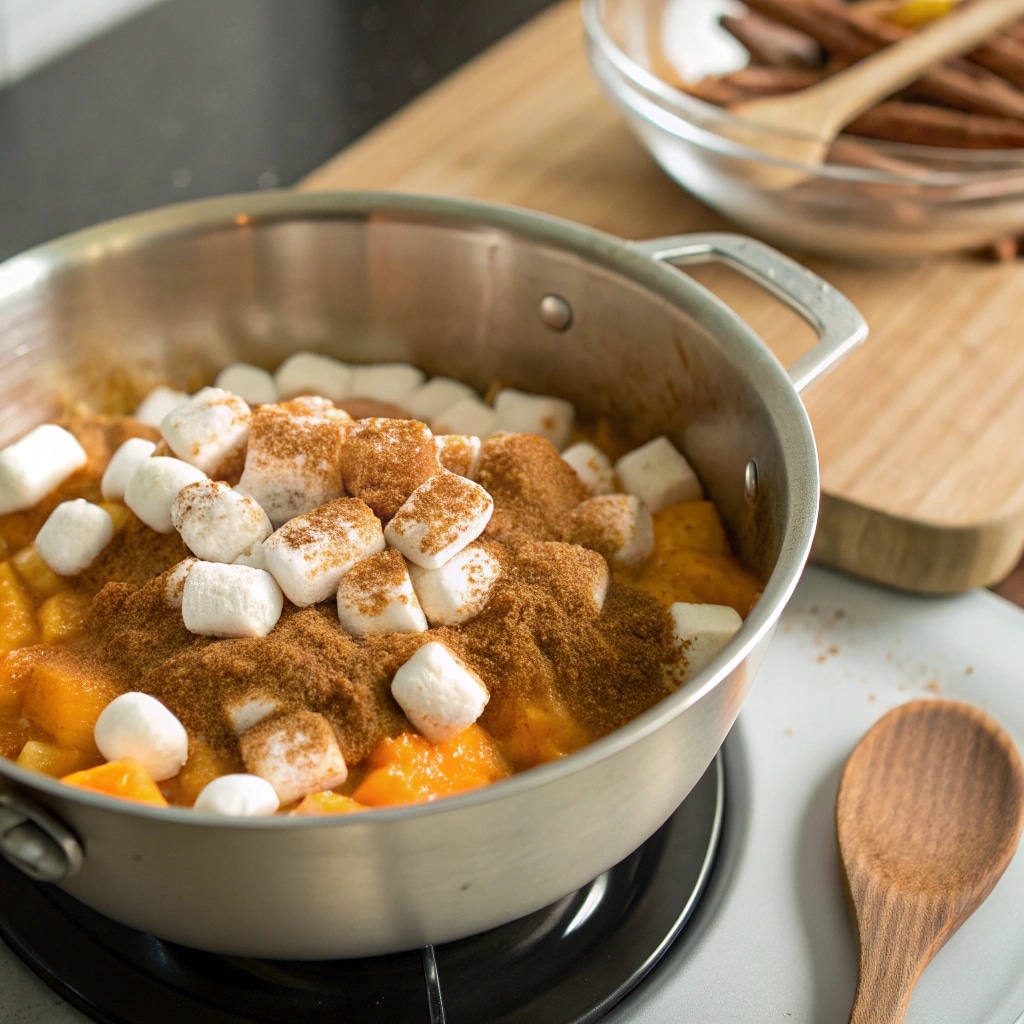
Keep the heat gentle. You’re melting and combining the ingredients, not boiling the mixture down into a thick candy.
2. Cool the Pumpkin Mixture
Transfer the mixture to a mixing bowl and let it cool to room temperature, about 30 minutes or longer if needed. Stir occasionally so the mixture cools evenly.
Judge the temperature as well as the clock: the mixture should no longer feel warm before you add the whipped topping. A warm base can melt the topping and reduce the air you need for a fluffy filling.
3. Fold in the Whipped Topping
Add the thawed Cool Whip to the cooled pumpkin mixture. Use a spatula to gently lift and fold until the color is even and no large white streaks remain.
Avoid vigorous beating. The goal is a combined filling that still holds the air from the whipped topping.
4. Fill the Crust and Chill
Spoon the filling into the prepared graham cracker crust and smooth the surface. Cover without pressing the cover into the filling, then refrigerate for at least 8 hours, preferably overnight.
Keep the pie level while it chills. Add any decorative whipped cream, crumbs, or cinnamon shortly before serving.
Why Is My Marshmallow Pumpkin Pie Too Soft?
A chilled marshmallow pie should have a soft, fluffy texture that holds a slice. It will not feel as firm as a dense baked cheesecake. If it spreads instead of holding its shape, check these points:
| What happened | Possible reason | What to do |
|---|---|---|
| The pie has only chilled for a few hours | The filling has not had its full setting time | Keep it refrigerated for the full 8 hours before assessing the texture |
| The filling became thin when the topping was added | The pumpkin mixture may still have been warm | Cool the base completely next time; extra chilling may help, but cannot reliably restore lost volume |
| The pie stays loose after a full overnight chill | Too much pumpkin, watery purée, or an ingredient substitution may have changed the proportions | Check the measured amounts; do not add extra purée or milk to the recipe |
| The filling has firmed but the slices look untidy | A dull knife or crumbs dragging through the filling | Use a sharp knife, wipe it between cuts, and lift each slice with a pie server |
Do not reheat the assembled pie to try to make it set. If a properly stored pie remains too soft to slice, serve it in bowls rather than promising that additional chilling will fix every cause.
Make-Ahead and Storage Tips
This no-bake pie is easy to prepare in advance. Refrigerate overnight for the best texture and add decorative toppings just before serving.
Make the Pie the Day Before
- Prepare ahead: Assemble the pie the day before serving.
- Chill overnight: Refrigerate to allow the filling to set completely.
- Add toppings last: Save whipped cream and other garnishes until just before serving.
- Two-day preparation: You can make the pie up to 2 days ahead, keeping it covered in the refrigerator.
Tip: The crumb crust gradually softens during storage. For the best texture, prepare the pie the day before your gathering.
Refrigerate Leftovers
- Storage: Keep the pie covered in the refrigerator for 3–4 days from preparation.
- Safe temperature: Store at 40°F (4°C) or colder.
- Transport: Carry the pie in a cooler with ice packs to keep it chilled.
- Leftovers: Return any remaining pie to the refrigerator promptly.
According to the FDA’s food storage guidance, perishable desserts shouldn’t sit at room temperature for more than 2 hours, or 1 hour when temperatures exceed 90°F (32°C).
Can You Freeze It?
Freezing isn’t recommended for the best texture.
- Creamy filling: Freezing and thawing may affect its light, fluffy consistency.
- Crumb crust: Moisture released during thawing can make the base softer.
- Best option: Refrigerate the pie overnight rather than freezing it.
Tip: If you’re preparing the pie for a holiday or special gathering, make it a day ahead and keep it refrigerated until serving.
Frequently Asked Questions
More Creamy Pumpkin Desserts to Try
If you enjoy creamy pumpkin desserts, these recipes offer different ways to serve that familiar fall flavor:
- No Bake Pumpkin Lush: Choose this when you want a dessert served from one pan, with separate cream cheese, pumpkin pudding, and whipped topping layers. It also uses a whole 15-ounce can of pumpkin.
- No Bake Pumpkin Cheesecake Cups: Choose these for individual portions you can prepare before guests arrive. The creamy filling and crumb base give you cheesecake flavor without slicing a larger dessert.
- No Bake Pumpkin Pie Mousse: Try this when you prefer a filling made with freshly whipped cream and cream cheese, served in a Biscoff cookie crust.
For more options, explore our easy pumpkin desserts, with comparisons of preparation time, chilling time, and serving sizes.