Last updated on October 23, 2026
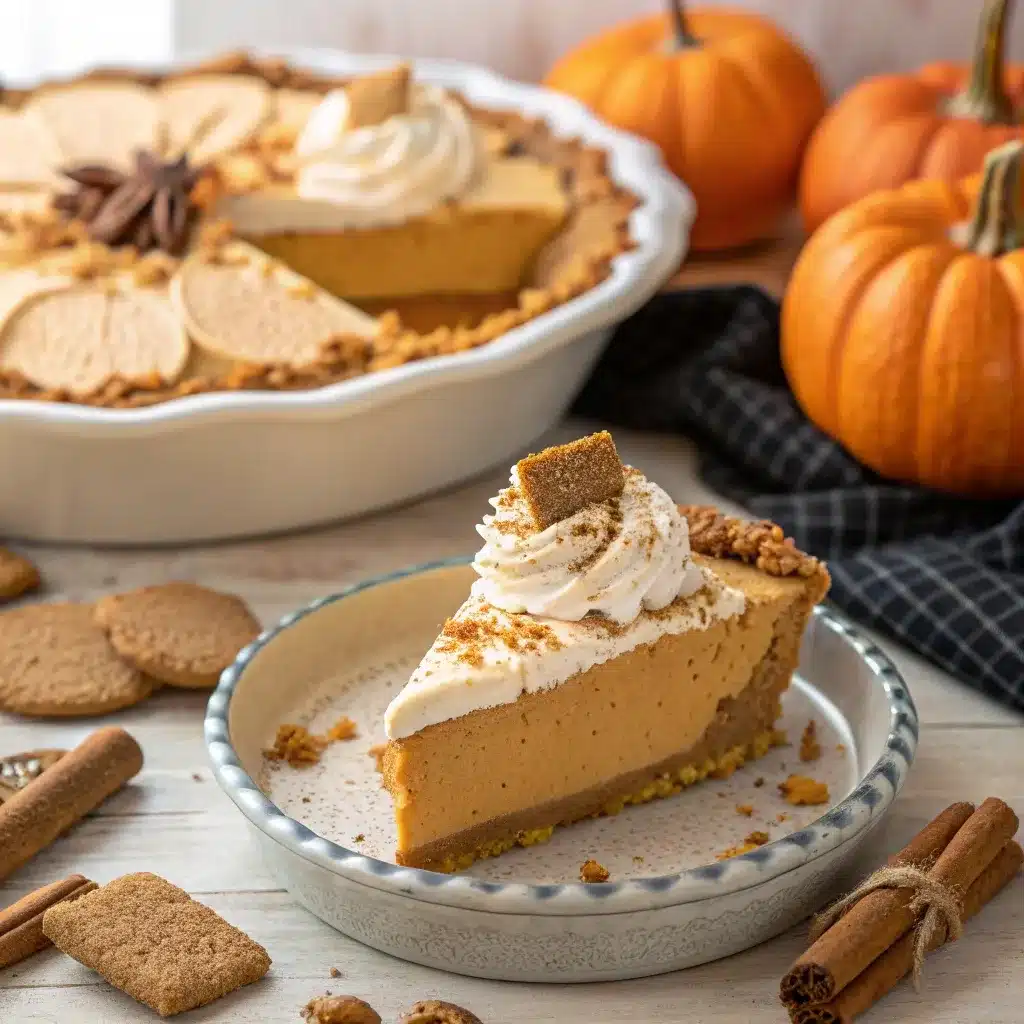
This no bake pumpkin pie mousse includes a Biscoff cookie crust, light and fluffy cream cheese pumpkin filling and fresh whipped cream on top. Makes 12 tiny servings, in a 9-inch pie plate. Active time: around 30 minutes. Chill time: at least 6 hours.
If you still haven’t decided on an autumn dessert, have a look through our collection of pumpkin desserts to compare mousse, cheesecake, pies, and other pumpkin goodies.
This pumpkin mousse pie recipe is lightened up with whipped heavy cream incorporated into the pumpkin foundation. No gelatin, pudding mix or egg custard to make. You may make the crust and filling ahead of time, adding the topping just before serving.
Table of Contents
Why We Love This No Bake Pumpkin Pie Mousse
A Spiced Cookie Crust Without Baking
Biscoff crumbs bring their own spiced flavor. Pressing the butter-coated crumbs firmly into the dish creates a base for the chilled filling without baking a pastry shell.
Brown Sugar and Warm Spices
A measured half cup of pumpkin combines with brown sugar, cinnamon, nutmeg, cloves, and ginger. The filling gets its pumpkin pie flavor without a cooked egg custard.
Freshly Whipped Cream Gives the Mousse Its Lift
Cream whipped to stiff peaks is folded into the smooth pumpkin base with a spatula. Keeping that air in the mixture is the key technique for its light texture.
No Bake Pumpkin Pie Mousse
- Total Time: 6 hours 30 minutes
- Yield: 12 servings 1x
- Diet: Vegetarian
Description
A no bake pumpkin mousse pie with Biscoff cookie crust, fluffy cream cheese filling, and fresh whipped cream on top. Allow 30 minutes of active preparation and at least six hours to cool.
Ingredients
For the Biscoff Crust
- 1 package (8.8 oz / 250 g) Biscoff or Speculoos cookies
- 7 tablespoons (99 g) unsalted butter, melted
For the Pumpkin Mousse Filling
- 1 cup (237 mL) heavy whipping cream, cold, measured before whipping
- 4 oz (113 g) full-fat block cream cheese, softened
- ¼ cup (50 g) light brown sugar
- ½ cup (122 g) pumpkin purée, not pumpkin pie filling
- 1 teaspoon vanilla extract
- ½ teaspoon ground cinnamon
- ⅛ teaspoon ground nutmeg
- ⅛ teaspoon ground cloves
- ⅛ teaspoon ground ginger
For the Whipped Cream Topping
- 1 additional cup (237 mL) heavy whipping cream, cold, measured before whipping
- 3 tablespoons (23 g) powdered sugar, sifted
- 1 teaspoon vanilla extract
- 1 teaspoon ground cinnamon, optional, for garnish
Instructions
- Make the cookie crust.
Lightly grease a 9-inch pie dish. Crush the cookies into fine crumbs and mix thoroughly with the melted butter. Press firmly into the bottom and up the sides of the dish. Refrigerate while making the filling. - Whip the cream for the mousse.
Beat the first cup of cold heavy cream until stiff peaks form. Stop before it becomes grainy and keep chilled while preparing the pumpkin base. - Mix the pumpkin base.
In another bowl, beat the softened cream cheese until smooth. Add the brown sugar, pumpkin purée, vanilla, cinnamon, nutmeg, cloves, and ginger. Beat until combined, scraping the bowl as needed. - Fold in the whipped cream.
Using a spatula, gently fold the whipped cream into the pumpkin mixture in three additions until no large white streaks remain. Avoid beating the combined filling with the mixer. - Fill and chill.
Spoon the mousse into the cooled crust and smooth the top. Cover without pressing the wrap onto the filling. Refrigerate for at least six hours or overnight. - Top and serve.
Shortly before serving, whip the second cup of heavy cream with the powdered sugar, vanilla, and optional cinnamon until it holds its shape. Spread or pipe over the mousse. Garnish with extra cookie crumbs if desired, and serve cold in small portions.
Notes
- Measure both portions of heavy cream before whipping: one cup for the mousse and one cup for the topping.
- Use ½ cup plain canned pumpkin purée, not a whole can or pumpkin pie mix.
- The cinnamon listed under the topping is optional. If using it, whip it into that topping.
- Assemble the crust and filling up to two days ahead and refrigerate covered. Add freshly whipped topping shortly before serving.
- Prep Time: 30 minutes
- Chill Time: 6 hours
- Category: Dessert
- Method: No Bake
- Cuisine: American
Nutrition
- Serving Size: Per Serving
- Calories: 310 kcal
- Sugar: 13g
- Sodium: 130mg
- Fat: 23g
- Carbohydrates: 22g
- Fiber: 1g
- Protein: 3g
- Cholesterol: 75mg
Ingredients for Cream Cheese Pumpkin Mousse
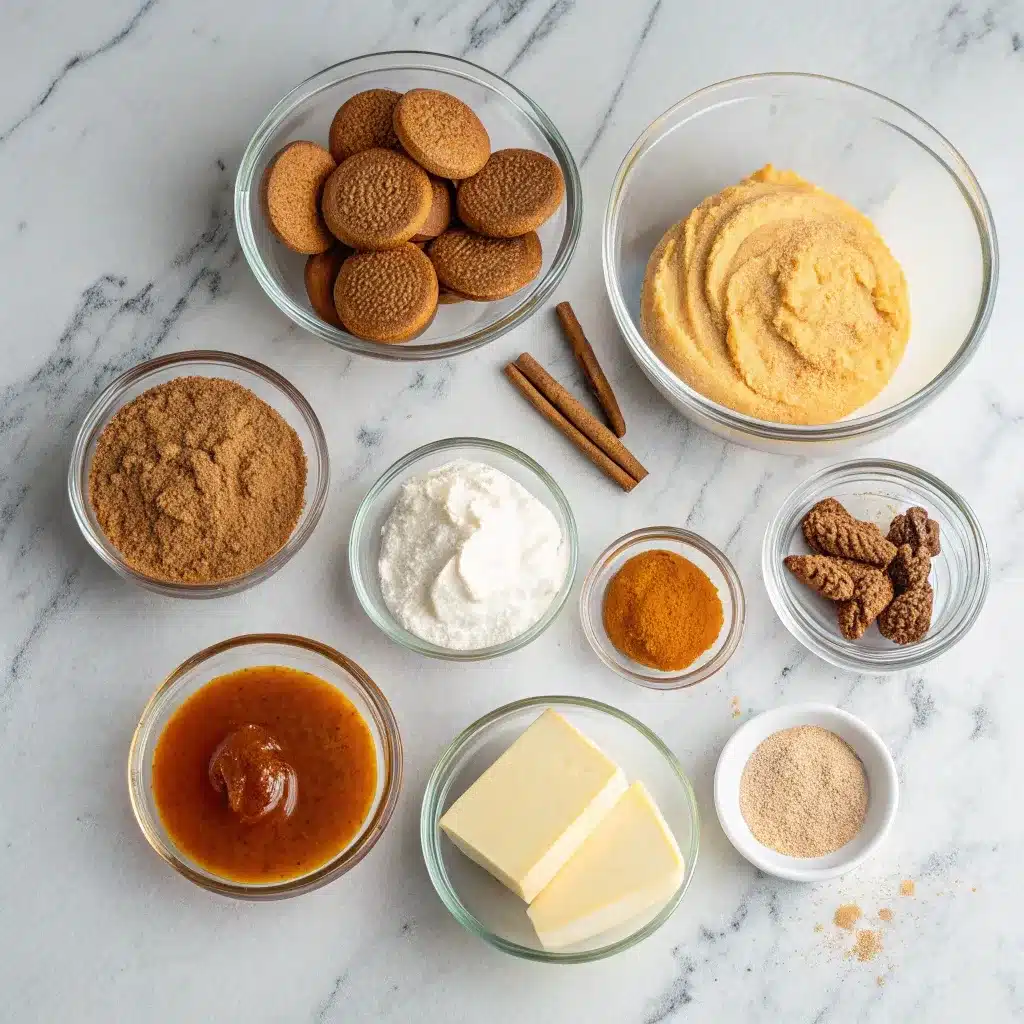
Biscoff Cookie Crust
- 1 package Biscoff or Speculoos cookies, 8.8 ounces / 250 g
- 7 tablespoons unsalted butter, melted
Crush the cookies finely and mix them thoroughly with the butter. This is a pressed cookie crust: it chills in the pie dish while you prepare the filling, with no baking step.
Pumpkin Mousse Filling
- 1 cup heavy whipping cream, cold and measured before whipping
- 4 ounces full-fat block cream cheese, softened
- ¼ cup light brown sugar
- ½ cup plain canned pumpkin purée
- 1 teaspoon vanilla extract
- ½ teaspoon ground cinnamon
- ⅛ teaspoon ground nutmeg
- ⅛ teaspoon ground cloves
- ⅛ teaspoon ground ginger
Measure the pumpkin rather than adding a whole can. This recipe uses just half a cup, and extra purée changes the balance of liquid and dairy in the filling.
Whipped Cream Topping
- 1 additional cup heavy whipping cream, cold and measured before whipping
- 3 tablespoons powdered sugar, sifted
- 1 teaspoon vanilla extract
- 1 teaspoon ground cinnamon, optional, for the topping
You need two cups of liquid heavy cream in total: one for the mousse and one for the topping. Keep these portions separate. Additional crushed cookies can be used as a garnish.
Ingredient Details That Make a Difference
| Ingredient | What to use or check | Why it matters |
|---|---|---|
| Pumpkin | ½ cup plain canned pumpkin purée | A full can adds much more pumpkin than this formula calls for. Pie mix also brings added sugar and spices. |
| Cream cheese | 4 ounces of softened full-fat block cream cheese | Beat it smooth before folding in the whipped cream to avoid lumps. |
| Heavy cream | Two separate 1-cup portions, measured while liquid | The first portion becomes part of the mousse; the second is whipped for the topping later. |
| Cookies | 250 g of Biscoff or Speculoos cookies, finely crushed | A consistent crumb size helps the butter distribute and the crust press evenly. |
| Butter | Melted, then mixed throughout the crumbs | Dry patches leave the crust less cohesive. Let the base cool before adding the mousse. |
Choose Pumpkin Purée, Not Pumpkin Pie Mix
Check the label for basic pumpkin purée. Libby’s pure pumpkin and pumpkin pie mix description states that its pie mix has additional sugar and spices, while its pure pumpkin has no additives. You don’t need that particular brand, all you need is the ingredient label.
Here, use canned purée as your basis. Homemade purée may have a varied water content which might alter the setting of the mousse.
How to Make No Bake Pumpkin Mousse
You will need a 9-inch pie dish, a food processor or a sturdy bag and rolling pin, mixing bowls, an electric mixer, and a flexible spatula.
1. Press the Biscoff Crust
Lightly grease the pie dish. Crush the cookies into fine crumbs, then mix in the melted butter until the crumbs are evenly moistened.
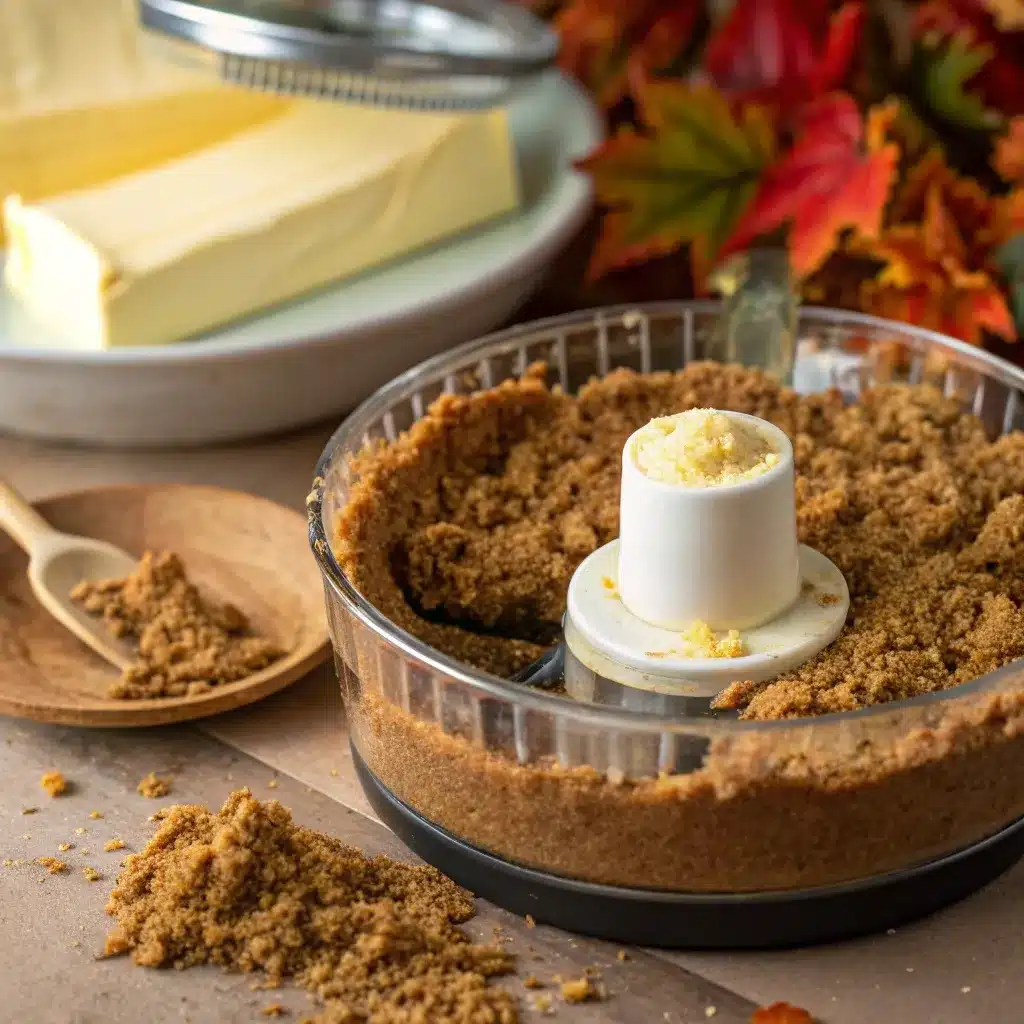
Press firmly across the bottom and up the sides of the dish, using a flat-bottomed glass or measuring cup to even out the layer. Refrigerate while preparing the mousse.
2. Whip the Cream for the Filling
Whip the first cup of cold heavy cream until stiff peaks form. When you lift the beaters, the peaks should hold their shape. Stop before the cream looks grainy, and keep it chilled while making the pumpkin base.
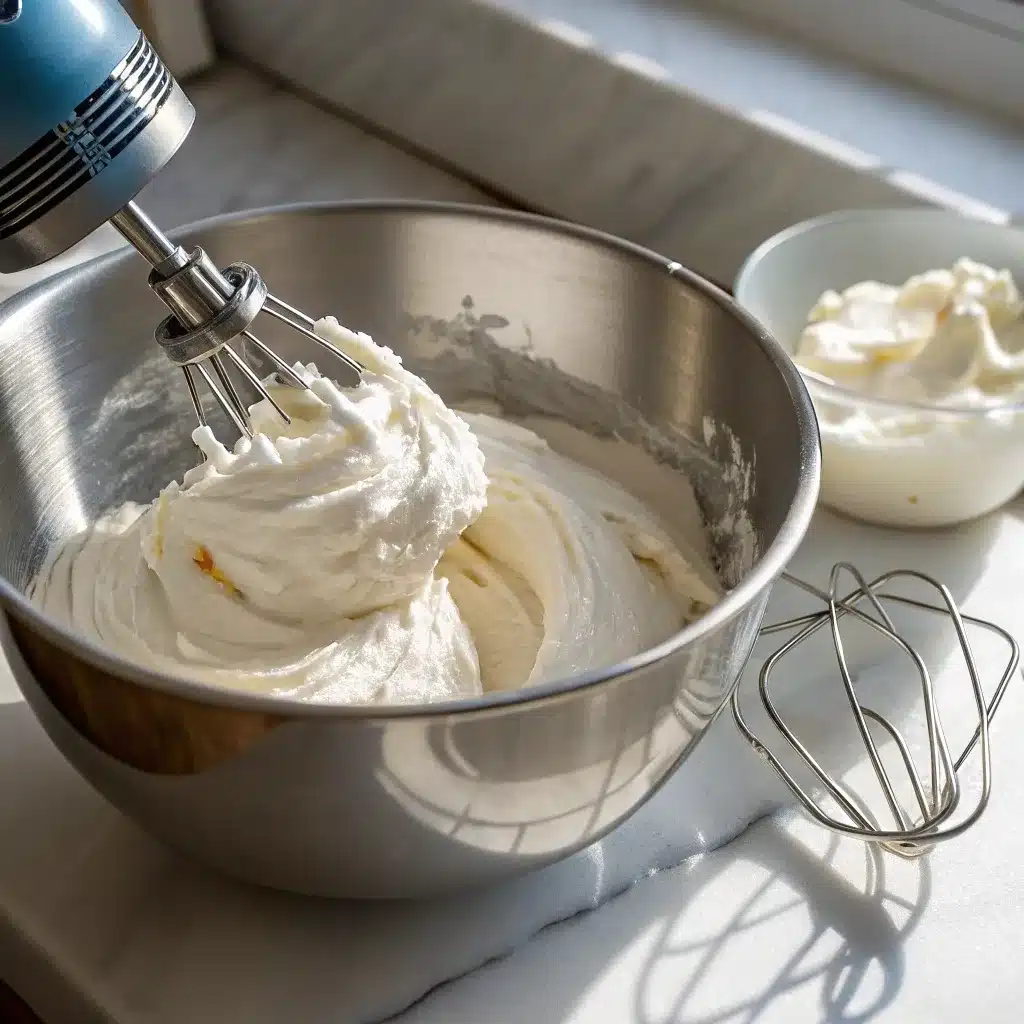
This easy pumpkin mousse recipe depends on whipping the cream separately. Pouring liquid cream straight into the pumpkin mixture does not create the same airy structure.
3. Beat the Pumpkin Base Until Smooth
In another bowl, beat the softened cream cheese until smooth. Add the brown sugar, measured pumpkin purée, vanilla, cinnamon, nutmeg, cloves, and ginger. Beat until combined, scraping the sides and bottom of the bowl.
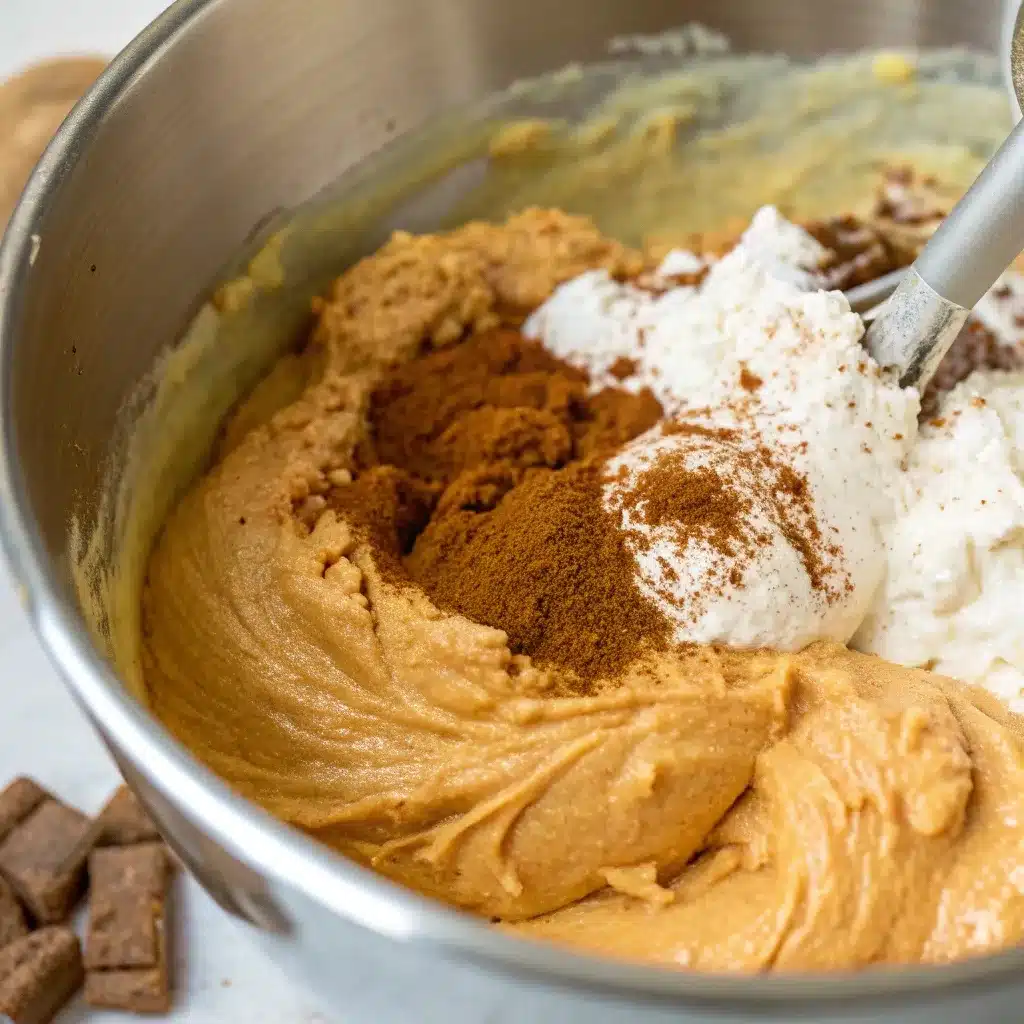
Check for cream cheese lumps now. Once the whipped cream has been folded in, extra mixing can deflate the mousse.
4. Fold in the Whipped Cream
Add the whipped cream to the pumpkin base in three additions. With a spatula, scoop from the bottom of the bowl and turn the mixture over gently until no large white streaks remain.
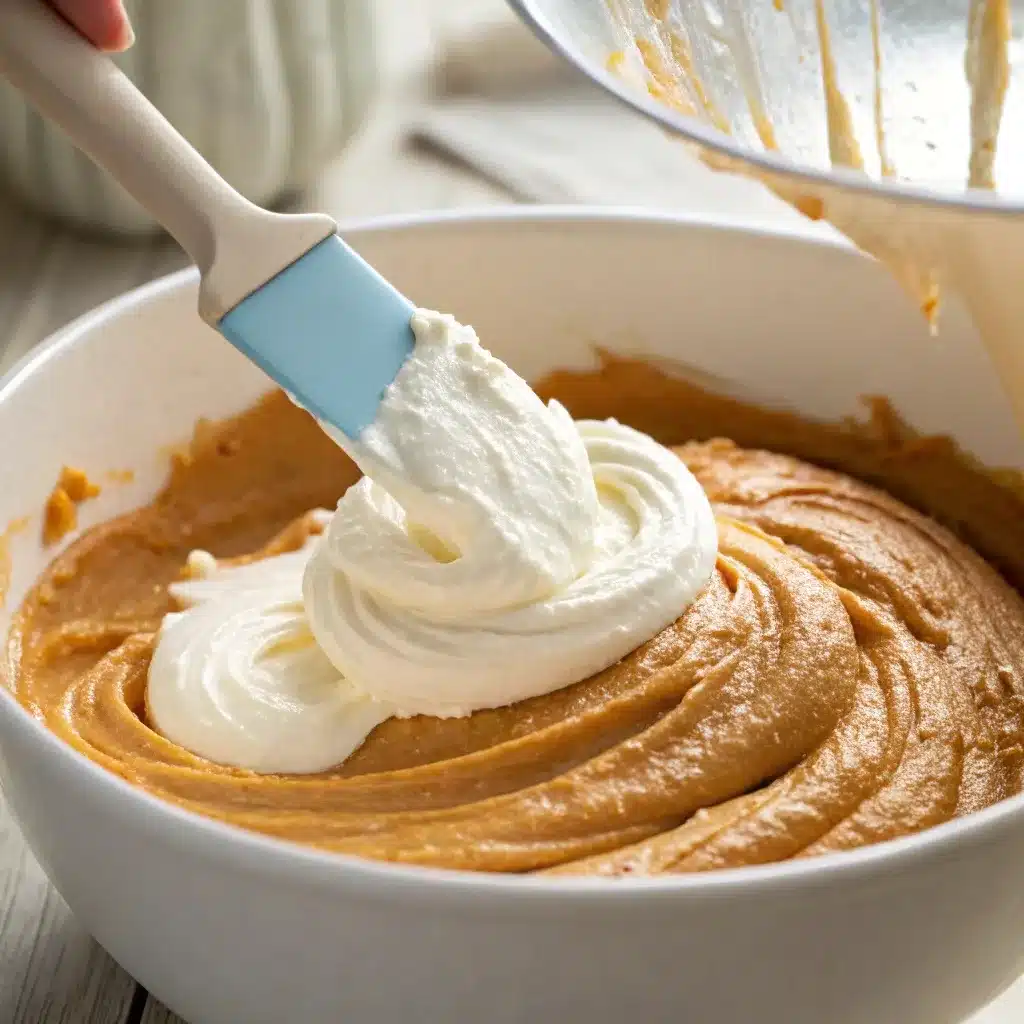
Use the mixer for the pumpkin base and a spatula for folding. The goal is to combine the mixtures while keeping the air you whipped into the cream.
5. Fill the Crust and Chill
Spoon the pumpkin mousse filling into the cooled crust and smooth the top. Cover without pressing the wrap into the surface. Refrigerate for at least six hours or overnight.
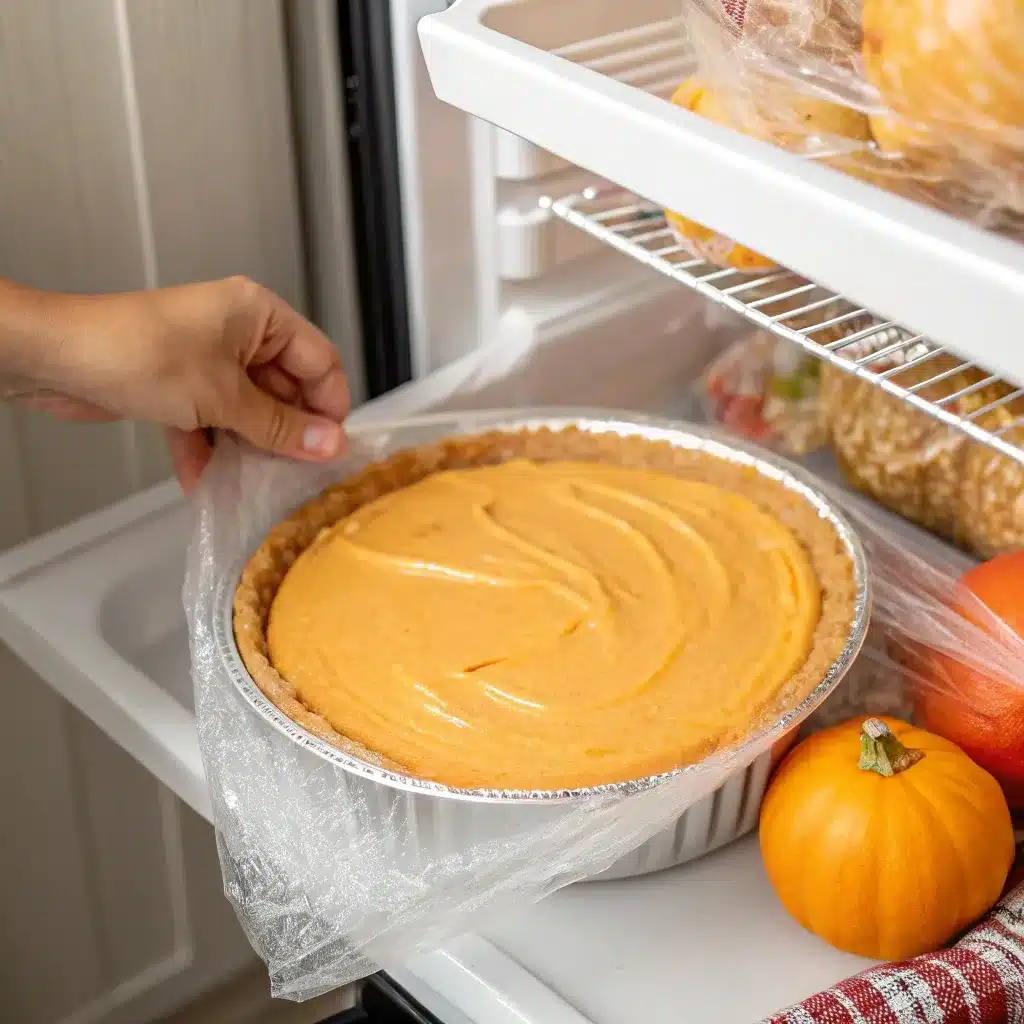
Keep the six-hour chilling time even if the filling looks thick before refrigeration. A briefly chilled mousse is not ready to cut simply because the surface appears firm.
6. Add the Fresh Whipped Cream
Shortly before serving, whip the second cup of cold heavy cream with the powdered sugar, vanilla, and optional cinnamon until it holds its shape. Spread or pipe over the chilled mousse. Add extra cookie crumbs if desired.
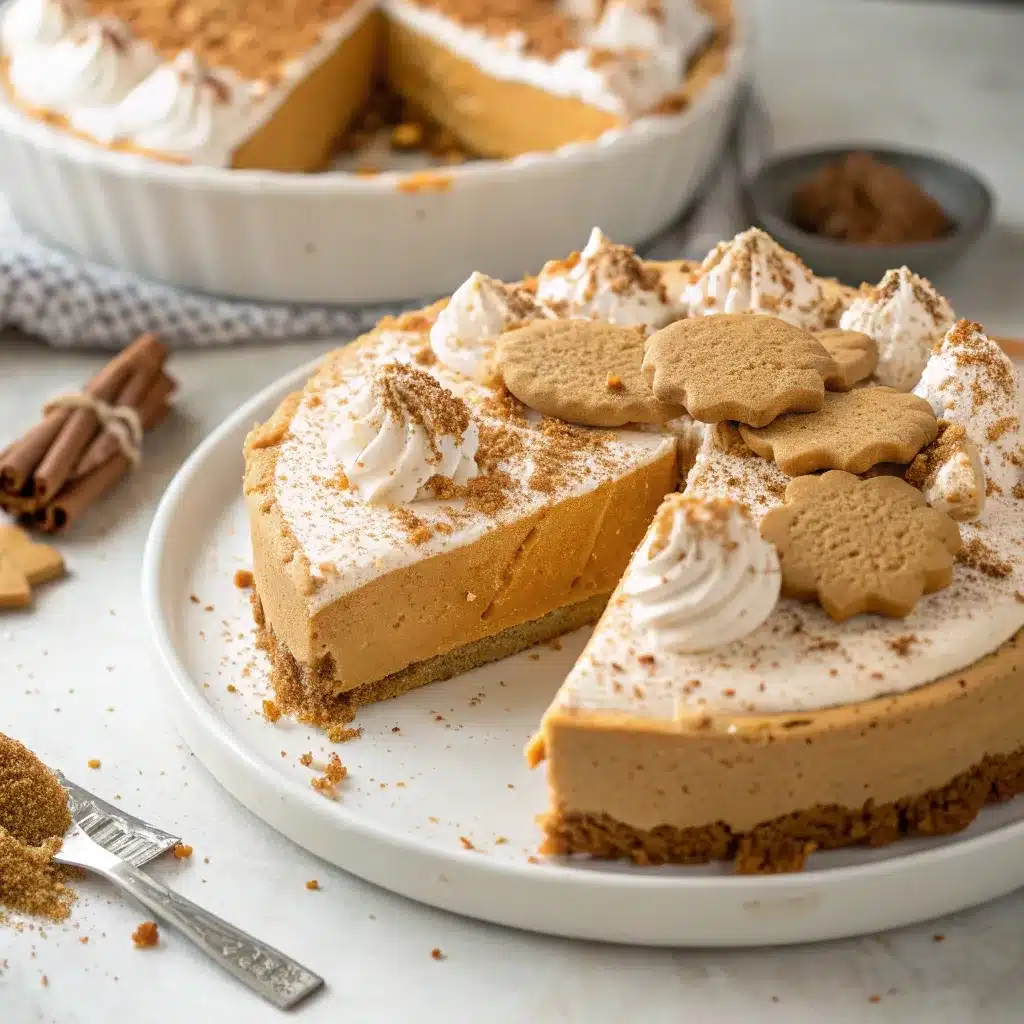
Cut small portions with a clean knife and lift them with a pie server. Serve cold, wiping the knife between cuts. The filling should be airy and creamy rather than as dense as a baked cheesecake.
Tips for a Mousse That Holds Its Texture
- Soften the cream cheese before mixing. Cold cream cheese is harder to beat smooth.
- Keep the cream cold. It should reach stiff peaks before being folded into the filling.
- Measure the pumpkin carefully. More pumpkin is not a reliable way to intensify the flavor without changing the texture.
- Fold gently and stop when combined. Beating the finished mousse can knock out air.
- Give the pie enough refrigerator time. Allow at least six hours, and keep it cold until serving.
The amount of pumpkin, cream cheese, and beating before folding should be checked if the mousse remains loose after chilling. As a last-minute fix, do not add dry pudding mix or gelatin to a mixed pie; those changes require a different recipe.
Make-Ahead, Storage, and Transport
Prepare the Pie Up to Two Days Ahead
Make the crust and mousse filling, cover, and refrigerate for up to two days before serving. Prepare the whipped cream topping shortly before serving so it keeps its shape and the cookie garnish stays crisp.
Keep the Mousse Refrigerated
Keep the pie and any remaining portions covered and refrigerated. Plan to serve within two days of assembly for the make-ahead schedule used here. Adding fresh topping does not restart the storage period.
Keep the refrigerator at 40°F (4°C) or below. Limit unrefrigerated time for this dairy-based dessert to two hours, or one hour when the temperature is above 90°F (32°C).
Transport the Pie Cold
Use a covered pie carrier and a cooler with ice packs. Add the whipped topping after arrival when practical, and return the pie to the refrigerator until serving.
For a planned gathering, refrigeration is the simplest approach. Freezing and thawing can make a whipped filling denser and soften the crust, so do not expect exactly the same texture after freezing.
Variations and Serving Formats
- Pumpkin mousse cups: Divide the cookie base and filling among small dessert glasses instead of pressing them into one pie dish. The number of cups depends on their size; retain the six-hour chilling period rather than assuming a shorter setting time.
- Different cookie crumbs: Gingersnaps or graham crackers change the flavor and may absorb butter differently. Keep Biscoff as the baseline instead of promising that every cookie works identically.
- Simple garnish: Finish the pumpkin spice mousse with extra cookie crumbs or a light dusting of cinnamon shortly before serving.
Our cottage cheese-based Pumpkin Mousse is blended. Cottage cheese cannot replace cream cheese and whipped cream in this recipe, so follow the ingredient proportions and chilling directions.
Serving Pumpkin Mousse Pie for Thanksgiving
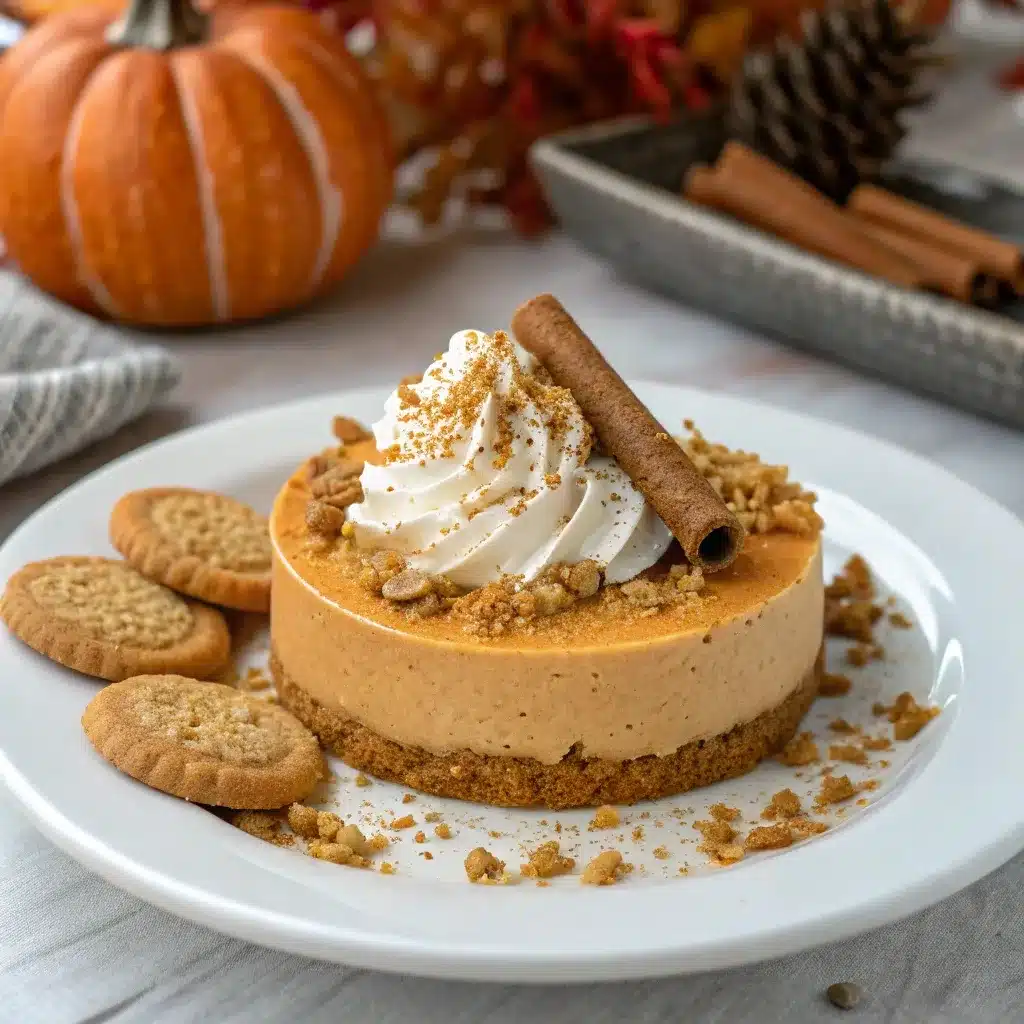
Serve the pie cold and add whipped cream just before serving. Cut tiny chunks so guests may share the cookie crust, mousse, and topping. While people eat, refrigerate the leftover pie.
When planning the rest of the dessert table, browse our no bake Thanksgiving dessert collection for other flavors and preparation schedules.
For a chewy, crisp contrast to the creamy mousse, add Pumpkin Rice Krispie Treats to the dessert platter. Cut them into small pieces so guests can take a little of each.
Frequently Asked Questions
Prefer Individual Pumpkin Cheesecake Jars?
For a dessert already designed around individual portions, try our No Bake Pumpkin Cheesecake Cups. That recipe gives you a separate jar-based method and serving plan when you do not want to cut a shared pie.
1 thought on “No Bake Pumpkin Pie Mousse”