Last updated on November 4, 2026
No bake pumpkin cheesecake truffles take a little spiced pumpkin and cream cheese and make it into individual treats to set next to a cup of coffee. The filling has a little bit of structure from the Graham crumbs and a white coating makes it easy to pick up each soft center. You have to pay attention to the filling. It has to hold its shape before you start dipping.
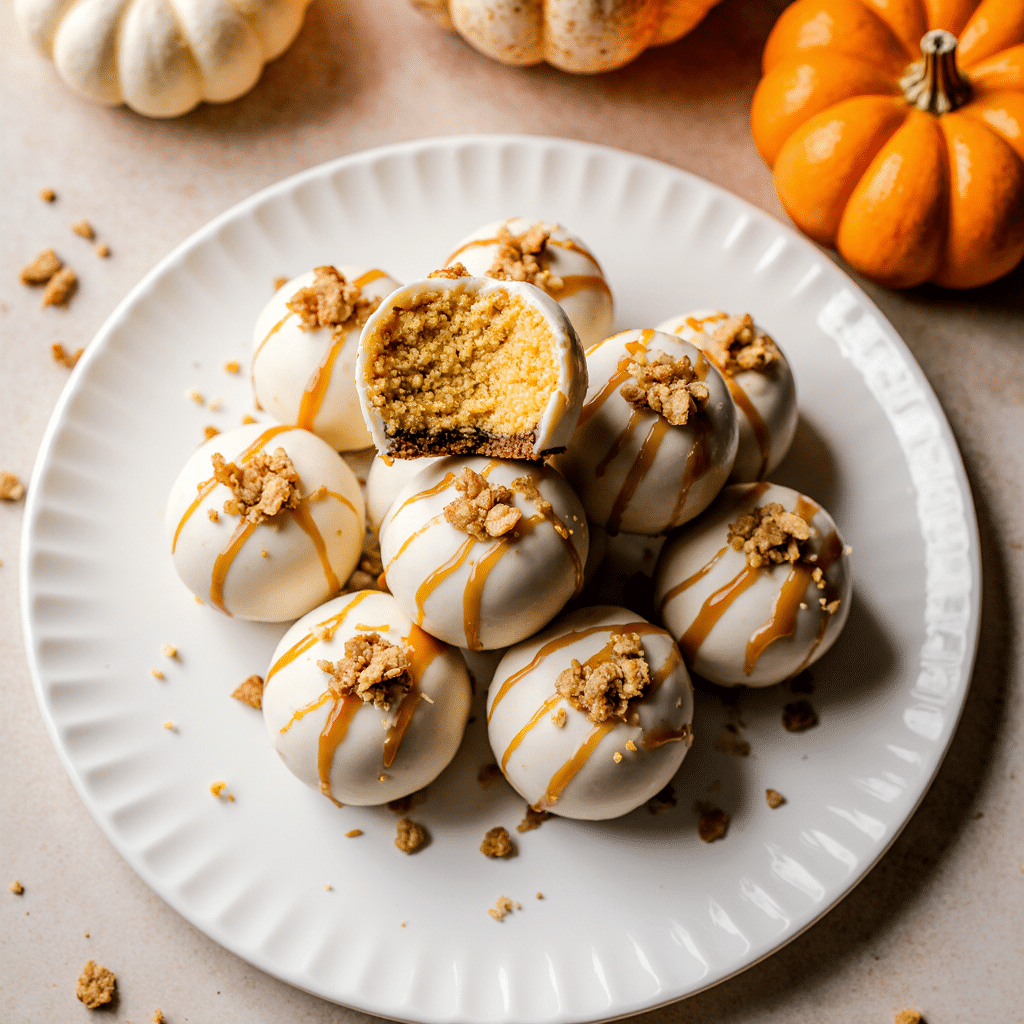
Make them the day before a gathering so you have time to roll and decorate. If you’re trying to figure out what else to put on the table, our collection of easy pumpkin desserts compares pies, cups, bars and smaller treats.
Table of Contents
Why You’ll Love These Pumpkin Cheesecake Truffles
Pumpkin Spice Truffles in Small Portions
The center combines the tang of cream cheese with pumpkin, vanilla, and warm spice. Each truffle gives you a little of that flavor without cutting a whole cheesecake.
The Graham Crumbs Have a Purpose
Finely crushed crackers bring a familiar pie-crust note and help bind the filling. The recipe shows you when to check the texture before adding more.
Decorate to Suit Your Table
Finish the wet coating with fine crumbs or a few sprinkles. Small paper liners make the chilled truffles simple to arrange and pick up.
No Bake Pumpkin Cheesecake Truffles
- Total Time: 1 hour 40 minutes
- Yield: 24–28 truffles 1x
Description
Pumpkin, cream cheese, and fine graham crumbs make the spiced centers of these coated truffles. Chill until the filling holds a scoop, roll into small balls, and dip in your choice of white coating.
Ingredients
Pumpkin Cheesecake Centers
- 8 ounces (227 g) full-fat brick cream cheese, softened
- ½ cup plain canned pumpkin purée, measured before blotting
- ¾ cup powdered sugar, sifted if lumpy
- 1 teaspoon vanilla extract
- 1 teaspoon pumpkin pie spice
- ½ cup very fine graham cracker crumbs, plus a small extra amount only if needed
Coating and Decorations
- 12 ounces (340 g) white melting wafers or white chocolate
- 2–3 tablespoons fine graham crumbs, cinnamon sugar, or sprinkles, optional
- A thinning aid recommended by your coating manufacturer, only if needed and in the amount directed on the package
Instructions
- Prepare the Tray and Blot the Pumpkin. Cover a small tray with parchment. Spread the measured pumpkin between paper towels for about 5–10 minutes, replacing wet towels as needed, until the purée looks thicker and less glossy.
- Combine the Filling. Beat the softened cream cheese and powdered sugar until smooth. Mix in the blotted pumpkin, vanilla, and pumpkin pie spice, scraping the bowl. Stir in the measured graham crumbs.
- Chill and Check the Consistency. Cover and refrigerate for 30–45 minutes. Test a level tablespoon of filling on the tray. If it spreads flat, refrigerate longer. If the filling is cold and still too loose, mix in extra fine crumbs one teaspoon at a time, checking between additions.
- Portion and Roll. Scoop the filling into level tablespoon portions. Roll briefly into balls and return them to the lined tray. The estimated yield is 24–28 pieces.
- Firm the Centers Briefly. Freeze the tray for about 10–15 minutes. Check that the centers are firm enough to handle but have not frozen solid. Allow any frost or surface moisture to disappear before coating.
- Prepare the Coating. Melt the wafers or white chocolate using the package directions and dry equipment. If the product permits microwave melting, use reduced power and short intervals, stirring between them. Let overly hot coating cool until fluid and workable. Use a thinning aid only when recommended for that product.
- Test, Dip, and Decorate. Keep most centers refrigerated and work with five or six at a time. Dip one, lift it on a fork, let excess coating drip away, and slide it onto parchment. If it holds its shape, continue with the batch. Add optional decorations while the coating is wet.
- Set and Refrigerate. Let the coating begin to set, then refrigerate for about 10–15 minutes or until the shells no longer smear when handled. Store in a covered container, separating layers with parchment.
Notes
- Use plain pumpkin purée. Sweetened pumpkin pie filling and leftover baked pie are not substitutes for it here.
- Measure the pumpkin before blotting; do not refill the measuring cup with more pumpkin afterward.
- Chocolate goes around the centers, not into the filling.
- Chill before adding extra crumbs. Stop making adjustments if the filling becomes crumb-heavy without holding together.
- Prep Time: 25 minutes
- Chill/Set Time: 75 minutes
- Category: Dessert
- Method: No Bake
- Cuisine: American
Nutrition
- Serving Size: 1 truffle
- Calories: 120 kcal
- Sugar: 10 g
- Sodium: 55 mg
- Fat: 7 g
- Carbohydrates: 13 g
- Fiber: 0.3 g
- Protein: 2 g
- Cholesterol: 10 mg
Ingredients for Pumpkin Cheesecake Truffles
The center contains six ingredients: cream cheese, pumpkin purée, powdered sugar, vanilla, pumpkin pie spice, and graham cracker crumbs. The coating and any decorations are additional. Exact amounts are in the recipe card.
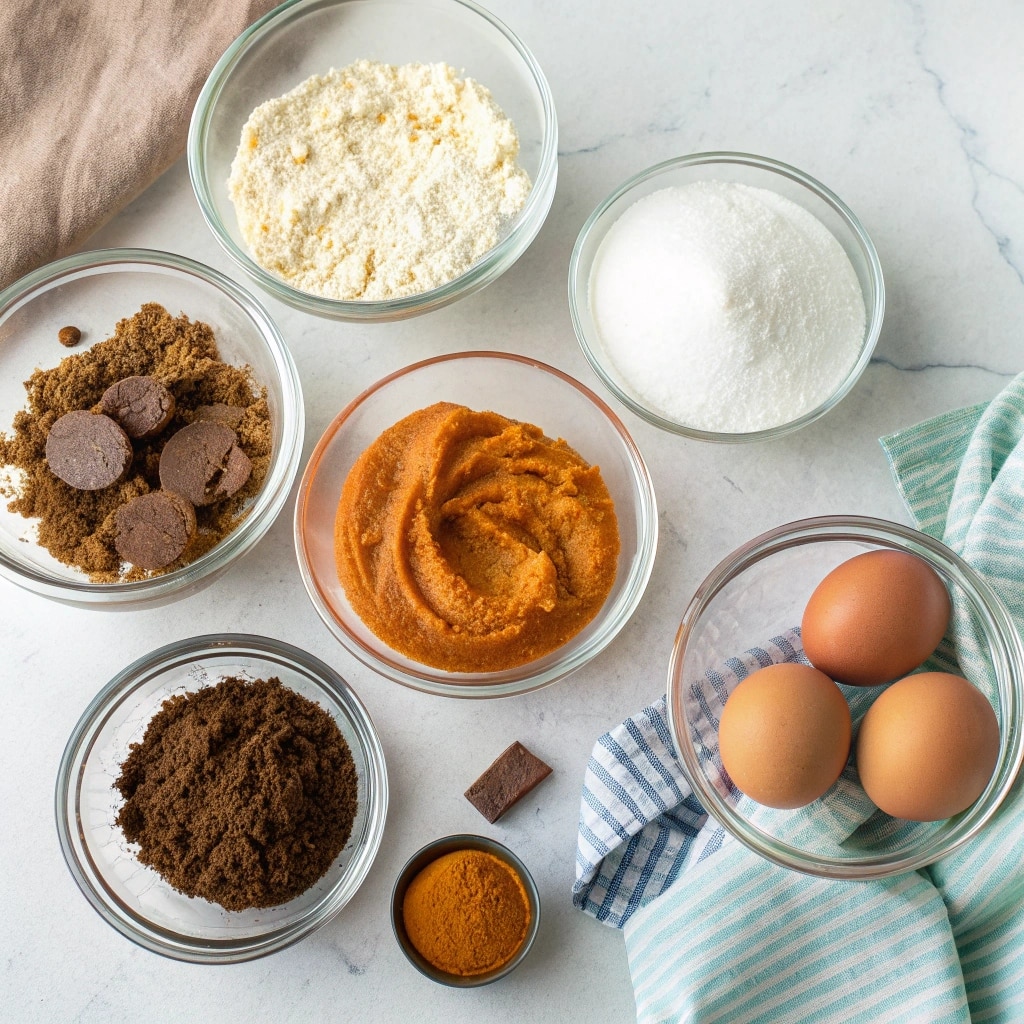
Use full-fat brick cream cheese, softened just enough to mix smoothly. A whipped or spreadable tub product can change the consistency. For the pumpkin, measure ½ cup of plain canned purée before blotting it. Save the rest of the can for another recipe.
Check the Ingredients That Affect Firmness
| Ingredient | What to look for | What to do before mixing |
|---|---|---|
| Cream cheese | An 8-ounce brick of the full-fat variety | Let it soften enough for the beaters to work through it; avoid melting it. |
| Pumpkin purée | Plain pumpkin, with no added sugar or spices | Measure ½ cup, then blot away excess moisture with paper towels. |
| Graham cracker crumbs | A fine, even texture rather than chunky pieces | Crush thoroughly and measure ½ cup. Keep a small extra amount for adjustments after chilling. |
| Powdered sugar | Powdered or confectioners’ sugar | Sift the measured ¾ cup if it has lumps so you do not have to beat the filling excessively. |
| White coating | A product intended for melting and dipping | Read its melting and thinning directions before opening the package. |
The vanilla and pumpkin pie spice season the center. Keep the pumpkin measurement the same if you want more spice; adding extra purée also adds moisture.
White Chocolate Pumpkin Truffles: Choose Your Coating
The right coating gives these pumpkin bites a smooth finish and a shell that holds its shape.
- White melting wafers: Easy to melt and set without tempering. Some are vanilla-flavored rather than real chocolate.
- Real white chocolate: Requires proper tempering for a shiny, firm shell.
- Melting tip: Keep utensils dry and use only a thinning product suitable for your coating.
For real chocolate, follow King Arthur Baking’s chocolate tempering guide. It explains how to achieve a smooth, glossy finish that sets properly.
How to Make No Bake Pumpkin Cheesecake Truffles
1. Blot the Pumpkin Before Mixing
Spread the measured pumpkin between layers of paper towel and leave it for about 5–10 minutes. Replace saturated towels as needed. You are looking for purée that looks thicker and less glossy, with no obvious watery liquid around it.
Do this before combining the pumpkin with the cream cheese. Trying to absorb all that moisture later with extra cracker crumbs can leave the centers tasting more like damp crumbs than cheesecake.
2. Mix the Center and Give It Time to Chill
Beat the softened cream cheese with the powdered sugar until the lumps disappear. Work in the blotted pumpkin, vanilla, and pumpkin pie spice, scraping the bowl so no pockets of plain cream cheese remain. Stir in the fine graham crumbs.
Cover the bowl and refrigerate for 30–45 minutes. The mixture can be soft just after mixing, especially if the cream cheese was warm. Let the refrigerator do its part before deciding that it needs more crumbs.
3. Roll the Pumpkin Cheesecake Balls
Release a level tablespoon of chilled filling onto the lined tray. It should sit in a rounded mound rather than slowly spread flat. If it slumps, chill it longer first. Once it is cold, add extra fine crumbs only if needed, one teaspoon at a time.
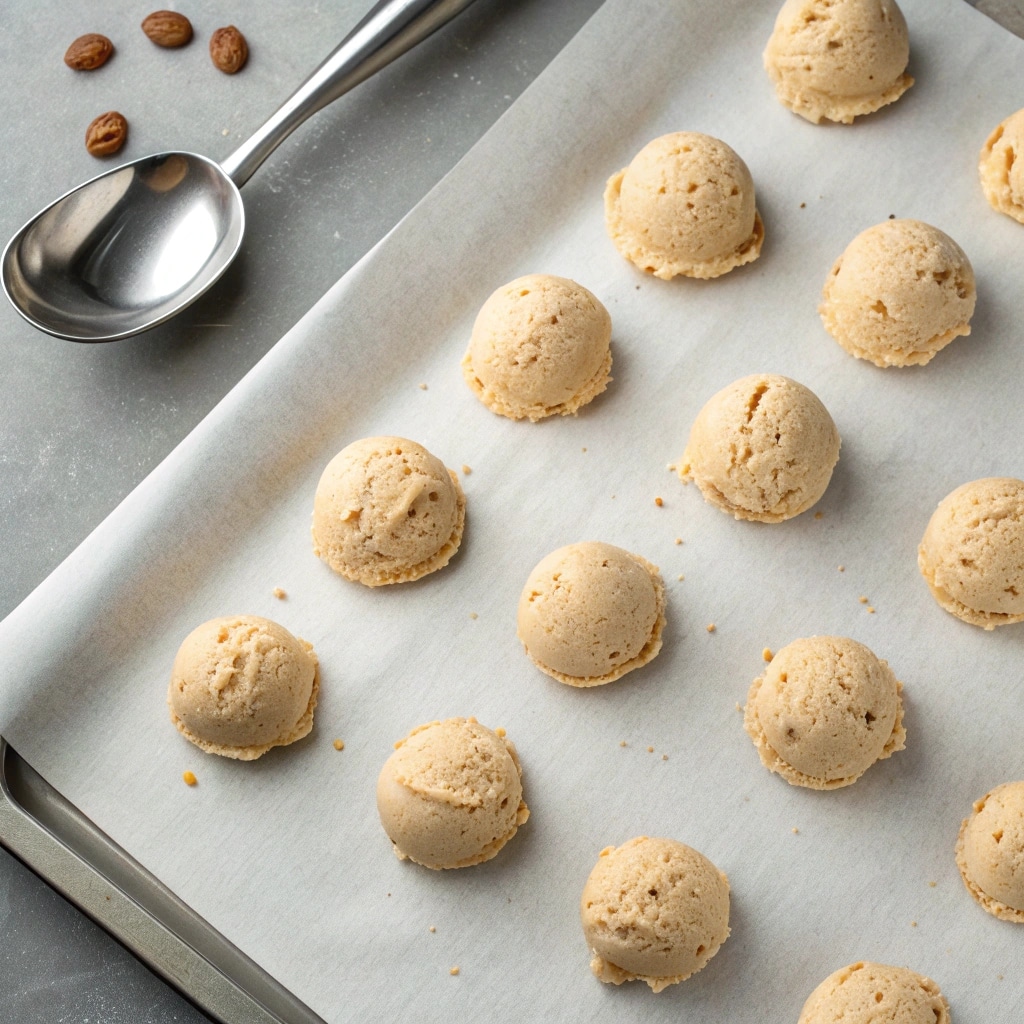
When the filling holds, portion the rest and roll each mound briefly between your palms. Aim for similar sizes so the centers are equally easy to handle. Expect approximately 24–28 pumpkin cheesecake balls; the exact number depends on your scoop and any crumb adjustments.
Put the tray in the freezer for about 10–15 minutes, checking that the centers become firmer without freezing solid. If they develop frost or condensation, let the surfaces dry before dipping.
4. Dip a Test Truffle First
Melt the coating according to the package directions. When microwave instructions allow it, use reduced power and short heating intervals, stirring between them. Stop heating when stirring can finish melting the remaining small pieces. The coating should flow from the spoon without being piping hot.
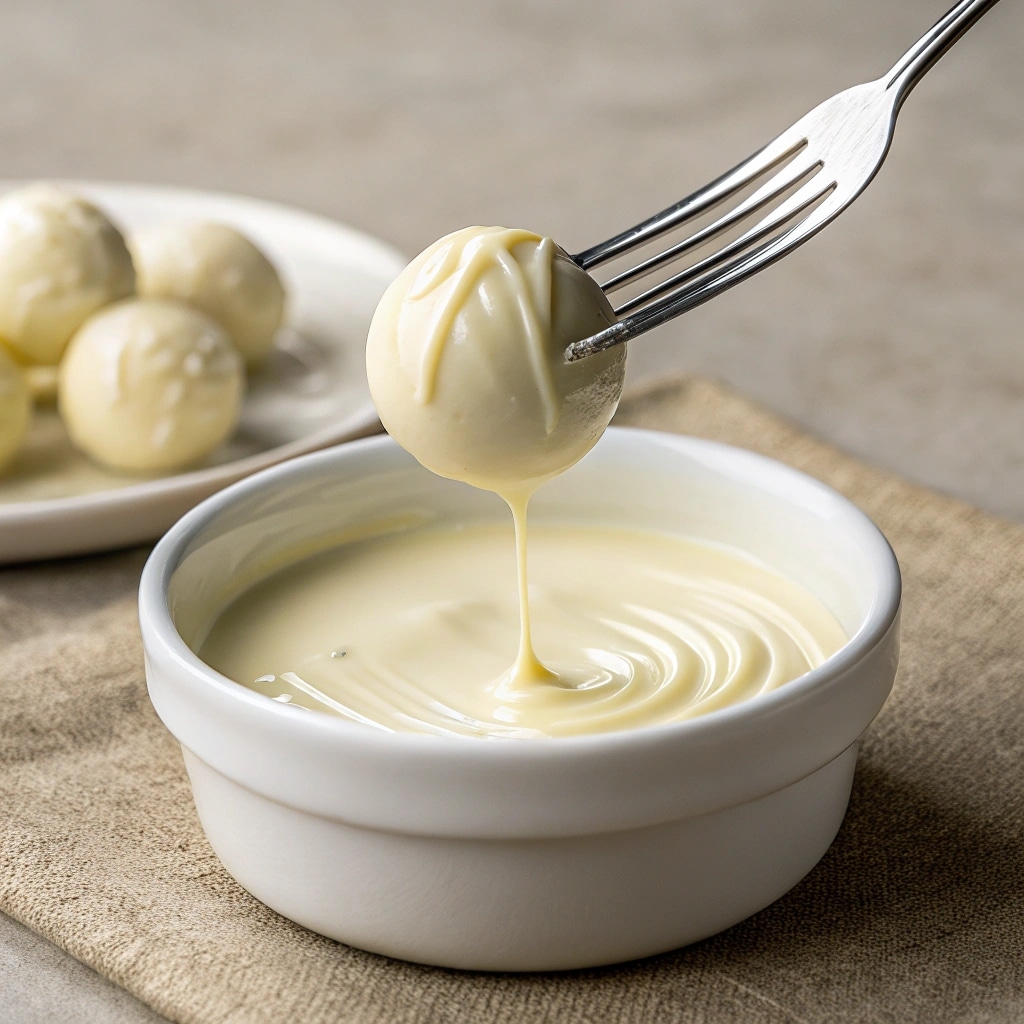
Take out five or six centers and leave the rest refrigerated. Lower one into the coating, spoon a little over the top, and lift it with a fork. Let the excess run back into the bowl, then slide the truffle onto fresh parchment with a toothpick.
Check that first piece before coating the batch. If the center bends or breaks, it needs more chilling. If the coating piles up in a thick layer, check its temperature and the manufacturer’s thinning directions.
5. Decorate While the Surface Is Wet
Add a pinch of fine crumbs or sprinkles before the shell sets. Continue with the remaining centers in small groups, giving the coating a gentle rewarming only when needed.
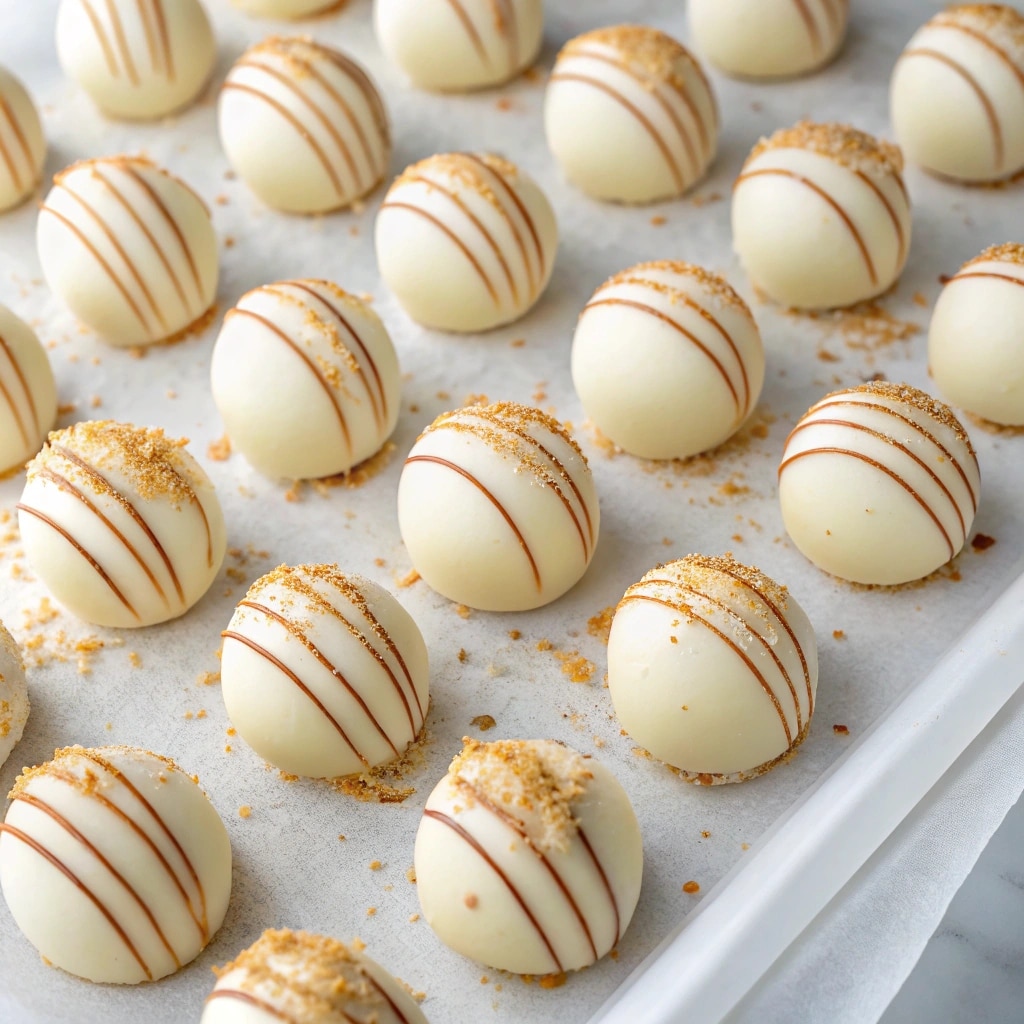
Once the coating has begun to set, refrigerate the tray for about 10–15 minutes, or until the shells can be handled without smearing. Letting very warm coating cool briefly before refrigeration can help avoid a sudden temperature change.
Troubleshooting Soft Centers and Uneven Coating
| What you notice | Check this first | What to try |
|---|---|---|
| A scoop spreads flat on the parchment | Is the filling still warm from mixing? | Refrigerate longer before adding more crumbs. |
| Cold filling still will not roll | Was the pumpkin blotted, and were the original quantities measured? | Mix in fine crumbs a teaspoon at a time. Stop if the center becomes crumb-heavy without holding together. |
| Balls soften halfway through dipping | Have too many centers been sitting out? | Return them to the refrigerator and work with five or six at a time. |
| The coating becomes thick or grainy | Was it overheated or exposed to water? | Stop heating. Follow the product’s troubleshooting directions rather than adding water or milk. |
| Shells crack after dipping | Were the centers frozen solid or the coating very hot? | Reduce that temperature difference for the next group and follow the coating’s setting directions. |
If the filling remains too loose, do not keep adding crumbs indefinitely. For a future batch designed to stay soft and be served with a spoon, our pumpkin cheesecake cups are a more suitable format.
Variations for Pumpkin Pie Truffles
A Graham Crumb Finish
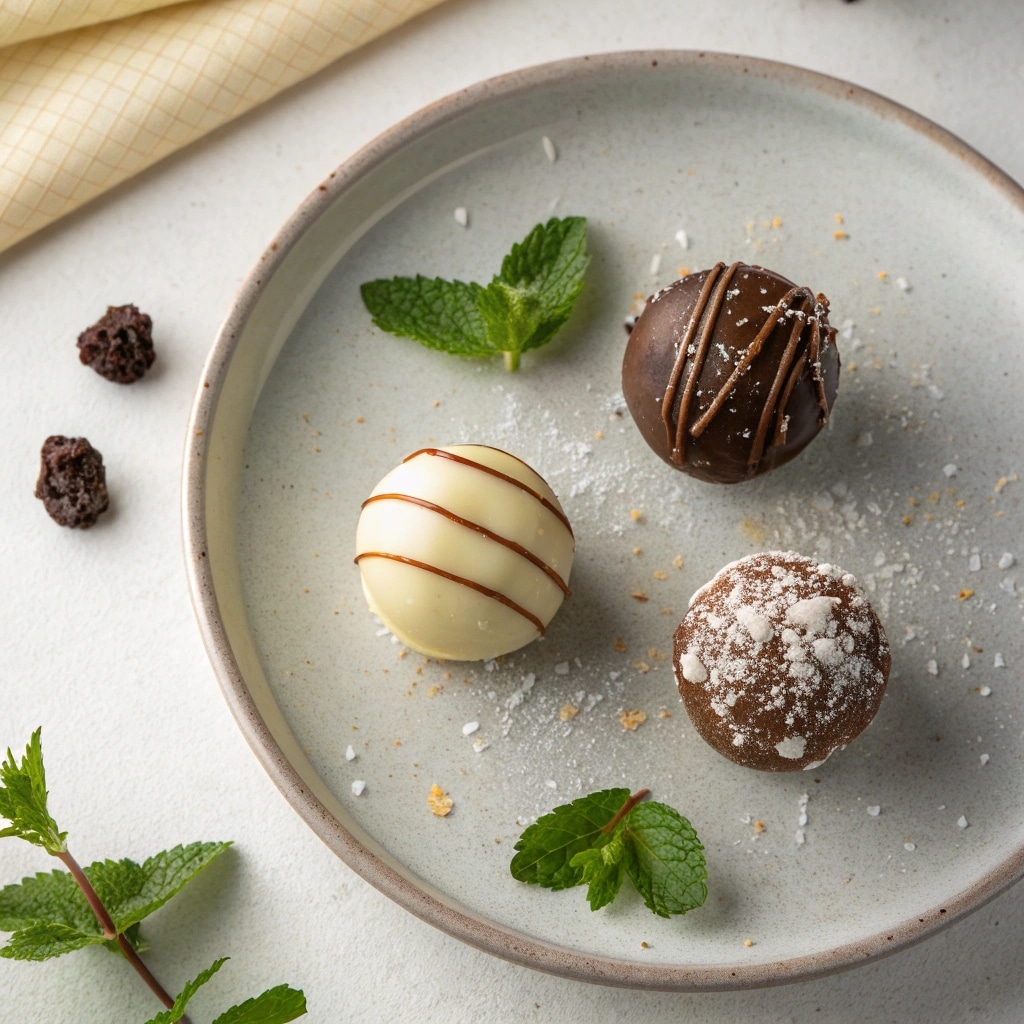
For no bake pumpkin pie truffles with more of a crust-like finish, sprinkle finely crushed graham crackers onto the wet coating. Keep the crumbs light enough that the shell still covers the filling underneath.
This recipe starts with pumpkin purée and cream cheese. Leftover baked pumpkin pie has a different mixture of ingredients and is not a direct replacement for this center.
Dark Chocolate or a Simple Crumb Coating
You can choose a dark coating for a less sweet contrast. Keep the filling quantities the same and use the melting directions for your chosen coating.
For an option without dipping, roll the chilled balls in fine graham crumbs and refrigerate them. They will have a softer exterior, so serve them in small paper liners and keep them cold.
Gluten Free Pumpkin Truffles
Use gluten free graham crumbs and check the labels on the coating, spice blend, and decorations. Different crackers absorb moisture differently, so check the chilled filling before adjusting the crumbs. This variation still contains dairy.
Make Ahead, Storage, and Serving
Plan Around the Chilling Time
These no bake pumpkin truffles take about 1½–2 hours to prepare, including 50–75 minutes of chilling and setting.
- Make ahead: Prepare the truffles the day before and refrigerate.
- Prepare in stages: Make the centers ahead, then dip them on serving day.
- Plan your space: Clear room in the refrigerator, especially when preparing several no bake Thanksgiving desserts.
Refrigerate and Store
- Storage: Keep covered at 40°F (4°C) or colder for 3–4 days from when the filling was made.
- Layer carefully: Place parchment between layers once the coating has set.
- Transport: Use an insulated cooler with ice packs.
- Serving: Don’t leave out for more than 2 hours, or 1 hour above 90°F (32°C).
Tip: The chocolate coating doesn’t make the cream cheese filling shelf-stable. Keep the truffles refrigerated.
Can You Freeze Them?
Freezing may change the creamy filling and chocolate coating.
- Freeze a few pieces first to test the results.
- Store in an airtight, freezer-safe container with parchment between layers.
- Thaw in the refrigerator while keeping the container closed.
Tip: For holiday gatherings, preparing them the day before and refrigerating is the better option.
Serve on a Dessert Tray
Place each truffle in a small paper liner for easy serving. Plan on 2 per person, giving you about 12–14 portions when other desserts are available.
For extra variety, pair them with pumpkin spice latte bark for a crunchy, coffee-flavored treat.
Gifting tip: Keep the truffles chilled during transport and let recipients know when the filling was prepared.
Frequently Asked Questions
More Creamy Pumpkin Desserts to Try
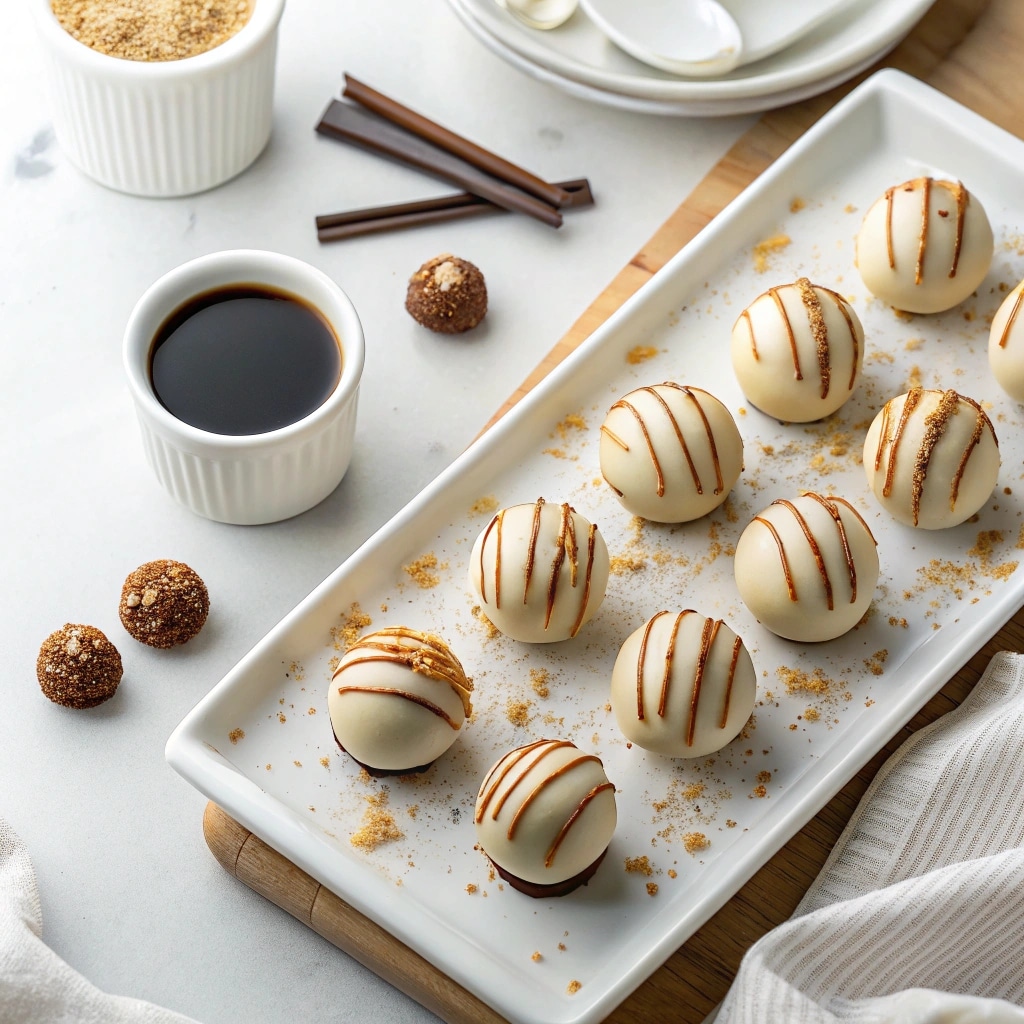
If you love creamy pumpkin treats, here are three more no-bake options worth trying:
- For a lighter texture: Our No Bake Pumpkin Pie Mousse combines whipped cream, cream cheese, and a buttery cookie crust.
- For easy slices: Try our No Bake Pumpkin Cheesecake Bars for a rich, creamy dessert that’s easy to portion.
- For a layered dessert: Make No Bake Pumpkin Lush with its soft, creamy layers served from one dish.